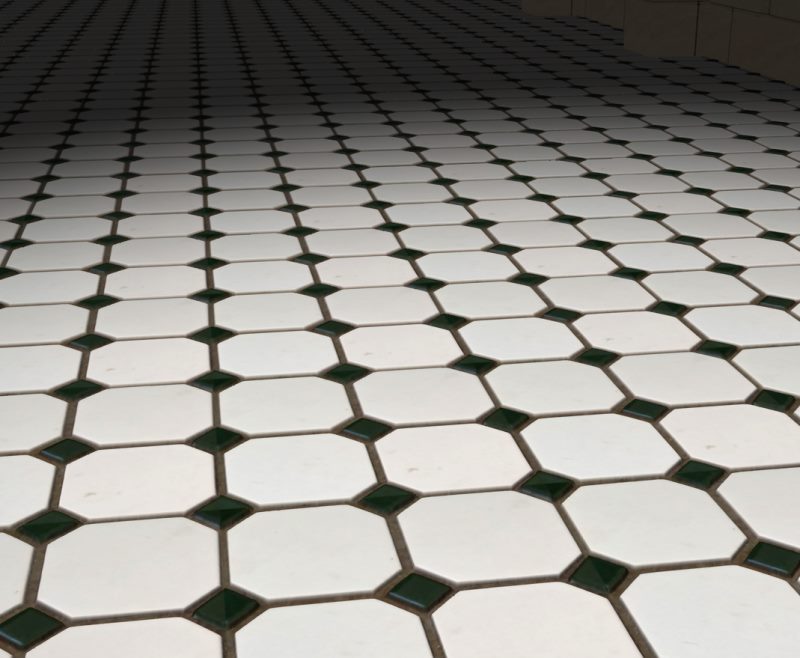
Time to give my textures a little depth. Again I would like to thank those of you who have given me advice on my journey into this world. 🙂
If you have read my previous articles you will have seen that I created the following texture from a photo of my bathroom floor:
Then I slapped it down onto the floor of my scene, much like gluing a colour photocopy of it onto a real floor. The result (when rendered in DAZ Studio) is this:
I hope its obvious from this picture that there is no depth to the texture. But I want my viewers to feel a sense the grout, of the slight rise and fall of tiles. Hence I need something that can do this. Obviously bump maps (mentioned previously) are one way. Another superior way is displacement maps. I won’t go into the theory of them as there is heaps of that on the web for you to enjoy. Instead let’s just make some.
NOTE: I used the


Permalink
Great use of the existing texture. I can only imagine what you were doing when you were contemplating the bathroom floor…..
Permalink
Thank you ? Due to my eye disorder i like to look intensely at things to make sure that i am seeing them properly. I then lock these images away in my memory so that i don’t need to really notice them again. Sounds weird? As an artist this is useful because i can search images in my memory to find ones that i can use. ?
Permalink
Those little things are what makes a good work stand out =)
Have you checked this little app out by chance? It’s said to be the best free normal mapper out there: http://www.smart-page.net/smartnormal/
(there is a download link on the left, at the bottom)