This is a really quick and easy process.
First I will show you the end result:

Nothing particularly special; mostly white. The Image Intensifier facing the x-ray tube has a black surface as per reference material. I’ve also placed a small blue line around its exterior. The x-Rray tube has a little blue sticker upon it. So the overall appearance is white and clean – suitable for a hospital.
The actual process of creating these textures was simple. Here is a bit of a diagram of the process using the Image Intensifier as an example:

So once I knew which part of the unwrapped texture corresponded with the exterior of the object I was able to add the required colours using Photoshop (though Gimp or Paint.Net would have been just as fine and free also).
So the finished texture for the Image Intensifier texture looks like this:

And that’s it. Voila!
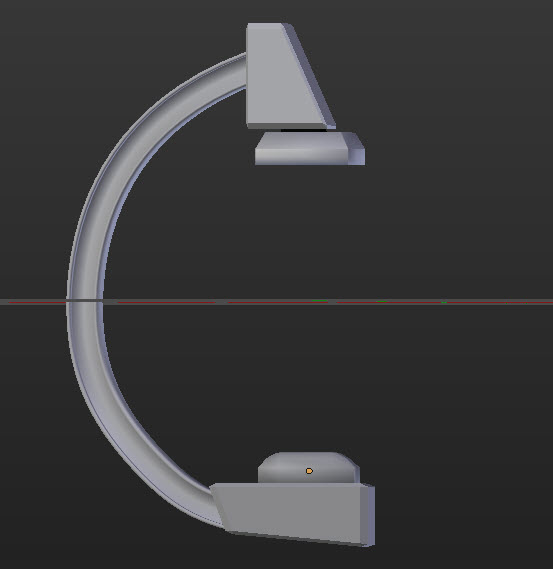
So I still need to add the C-arm to mount interfaces. I will make them separate objects.
Thanks for reading.
regards
Greg
Permalink
Great work Greg. If I was applying the elements of photography judging to what your series has demonstrated I’d award you a Distinction. No question about it.
Permalink
Thanks. That is a generous thing to say and I really appreciate it. 🙂
Permalink
Nice Greg, what did you use to do the UV unwrapping, if you don’t mind me asking.
Permalink
Thanks. I used one of Blender’s unwrapping tools. I selected an object in object mode, change to edit mode, re-select by pressing A twice (essentially a deselect and a select), then on a tab on the left hand side go to the unwrap options. My biggest problem with Blender is that it can do so very much that it’s hard to know what it can do and how.