
In my last post (about an hour ago), I commented that while occlusion maps were good, I wondered what the hair would be like if I used a texture that already had transparency. So I quickly cobbled one together in Photoshop that was based on the same two textures that I used in the last post.

Here is the node set-up that I used in Blender:

Note that it is a lot simpler.
I also used the same Bezier curve.

And then I rendered it.
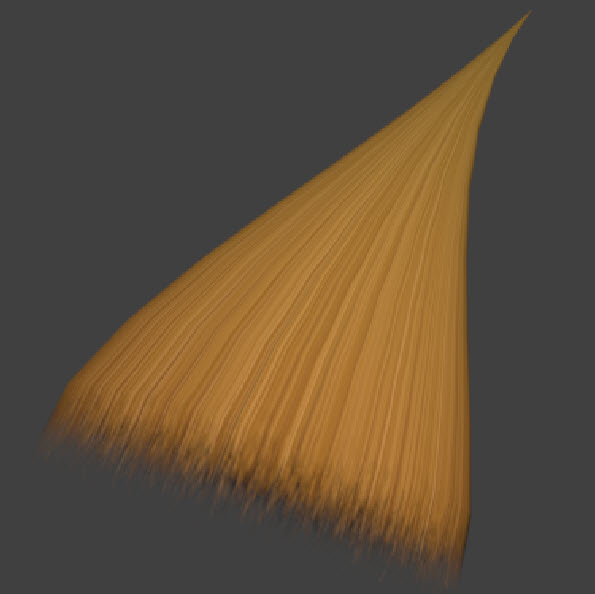
So let’s look again at the hair strand made with the occlusion map.

I can see times when I would use one of the other. In fact, maybe even literally. Place the denser one (the one with transparency textures) underneath and layer the subtler one (with the occlusion map) over top.
Well, I guess I have put the cart before the horse. Next post will probably need to be making transparent textures in Photoshop, GIMP, and Paint.NET. In all truth, it’s not that much different from making occlusion maps, but I should do it just to be thorough.
Thanks for reading.
Greg