Blender

Creating an Art Nouveau Door in Blender

In 2017, I decided to build an art nouveau door using Blender. I felt that this would be a significant challenge for my skills as they were then. This post is how I went about that. It is not so much a tutorial as a record of my efforts. Step 1: Inspiration and initial design I like to start by finding something upon which to model my thoughts. In this

Test rendering a transparent hair texture in #Blender

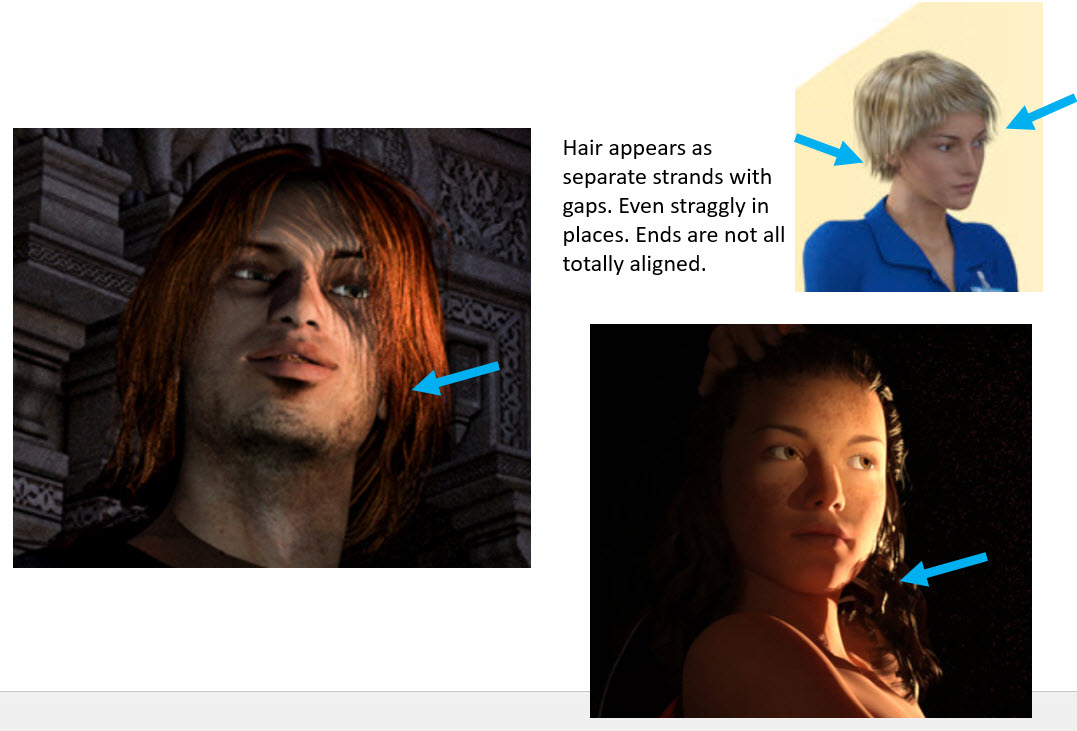
In my last post (about an hour ago), I commented that while occlusion maps were good, I wondered what the hair would be like if I used a texture that already had transparency. So I quickly cobbled one together in Photoshop that was based on the same two textures that I used in the last post. Here is the node set-up that I used in Blender: Note that it is

Test rendering the hair opacity map in #Blender

Hi folks, the purpose of today’s post is to document my testing of the hair opacity map that I created in my last post. I am doing so in Blender cycles and I will be assigning the hair texture and the opacity map to a bezier curve. Huh! A Bezier curve! Yep. At the end of my post, I shall place a link to a great Youtube tutorial called “How

Initial thoughts on a 3D Art Nouveau setting to be made in Blender

Just a short post. I did my initial brain dump of design specifications in PowerPoint. These are fairly simple. Here is a link to a Google image search on Art Nouveau. What do you see? Curved lines and natural shapes. So I had a go at using PowerPoint to create some basic outlines of wall shapes. This said, they feel more Art Deco (i.e. more geometric that natural in form).

How did I make the x-ray machine model?  #Blender

(Sorry – this is a repost as my database corrupted and I had to do a restore. Annoying as I had been in a hurry and had not done my normal post-post backup. Lucky I had a copy of the text.) I’m a Blender noob, so let me show how I used my simple skills to make the objects. Now the bench was really easy. Essentially it is a whole

Ceiling mount added   #Blender

Wow! Today was amazing. It’s like suddenly something clicked and I found myself achieving more in less time. The ceiling mount took me about half-an-hour. Admittedly I did spend an additional hour beforehand studying a number of videos regarding bending stuff in Blender. The reason was that I decided to try using a Bend modifier. This is different from how I formed the C-arm which is actually a curve. However