This article was originally written in May 2016 on my previous WordPress site. At the time, I was slowly recovering from a cornea transplant and from an unexpected redundancy. Life was not good, but I found an escape in digital art.
Art is an intensely personal thing. Artists across several mediums abound among my WordPress pals, and each of us has our own flavour. For me this is something that makes our community so precious to me. I do my best to learn from you all. Today I give a bit back. This post is about my latest digital art with a focus on my design and thought process together with a few of my techniques. It will also be quite a long and intensive post.
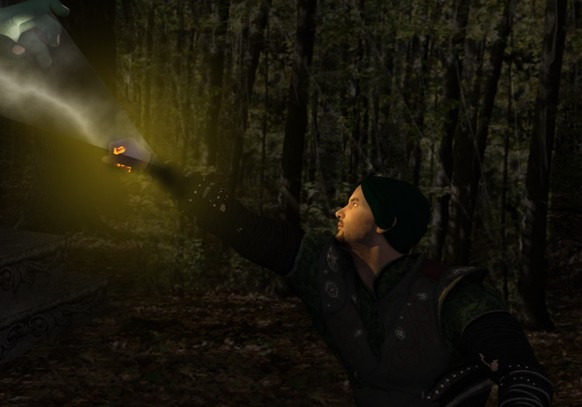
As an aside, with my eyes gaining strength, I am no longer restricted to my only artistic output being a photo a day on Instagram (thank goodness for a full Lightroom library!) or to those medical diagrams I did for Paris (they hurt!). So two days ago the urge to create burst from my soul. Just before midnight last night I finished this:
Tools
In creating digital art I will sometimes apply a massive toolset. In this case I kept it simple: DAZ Studio and Photoshop. If you want to find out more about either then please do a Google search. Having said this, I will repeat one reason that I love DAZ Studio — it turns 3D art into something akin to photography. By this I mean that it permits you to focus upon the composition of the scene. An artist can insert their own objects into the scene or simply purchase objects from online model stores to insert. Then it’s all about positioning the objects, establishing lighting and then choosing the camera position and angle etc. Yes, I know that other tools can do this too, but in DAZ Studio I personally find it so much more intuitive.
Design
Below is a simplification of my layout. The diagonal line represents the path that I wish my audience’s eyes to travel. Some artists describe that as how they split the canvas or create zones etc. Note that I deliberately do not set the path from corner to corner. I try to be off‑centre slightly because I feel that makes it subconsciously more interesting.

In DAZ Studio this meant setting up the actors and sets and then placing a camera in just the right position. I called the camera “Profile”.
In case you are wondering what actors and objects I used: both the actors are Genesis models. I used the Mr Hyde modifier on the actor to the left, but only as a partial morph. I also used the Tough Guy head morph on him.
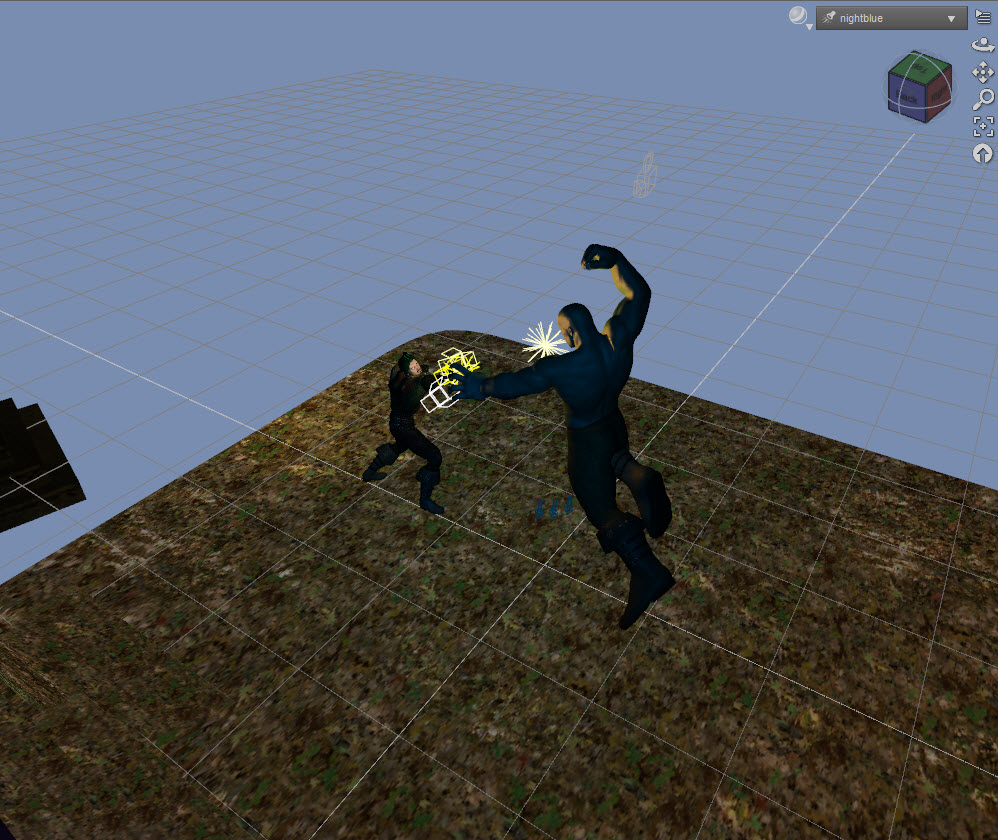
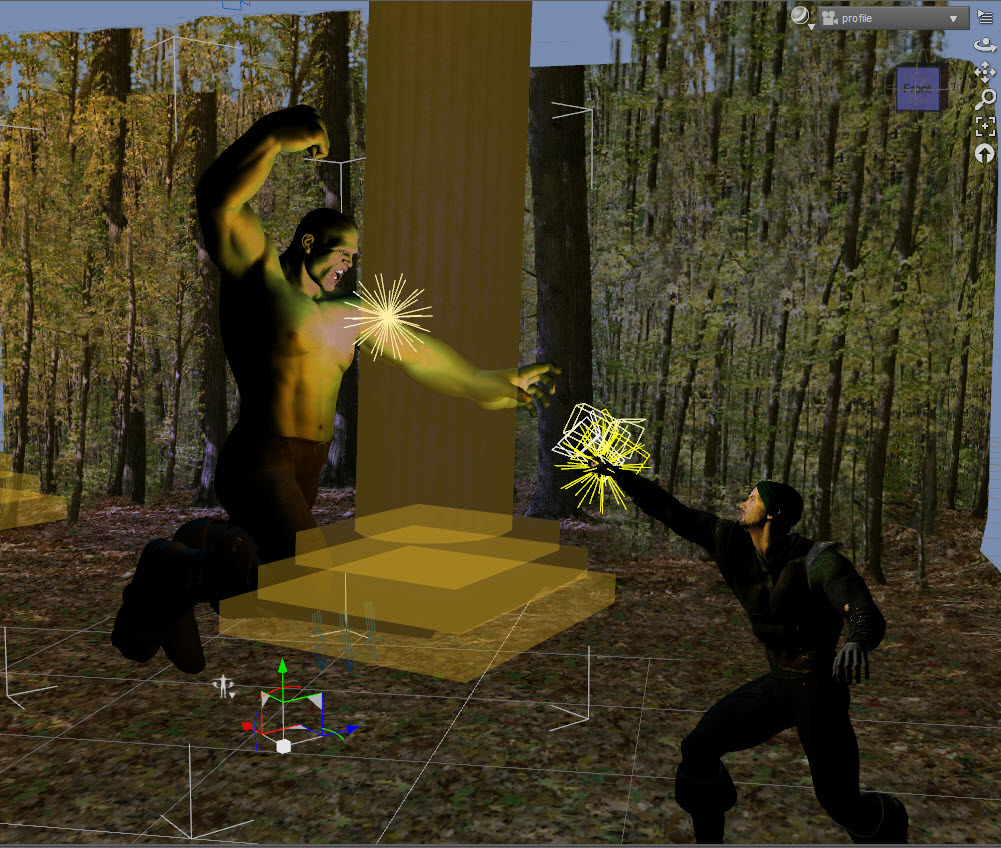
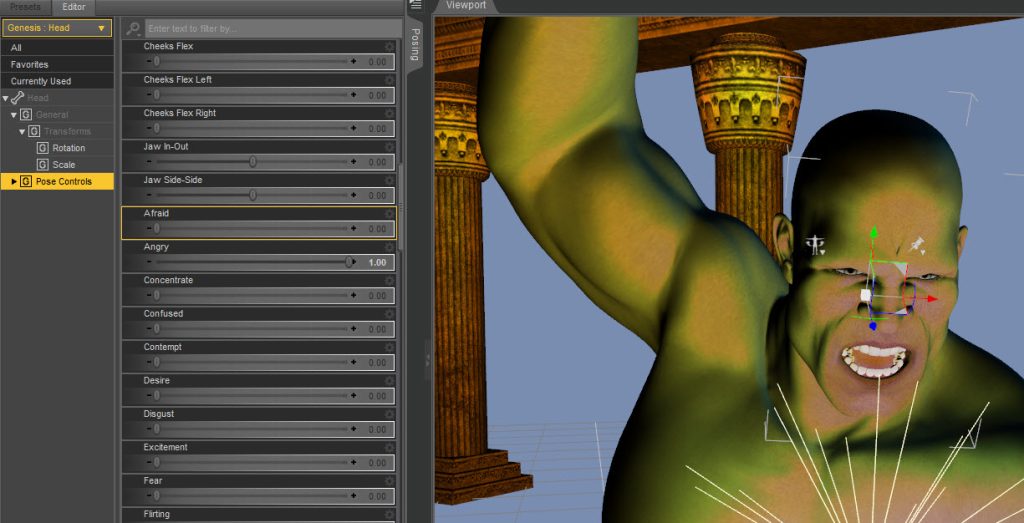
And I used Genesis Evolution Expressions to make him angry.
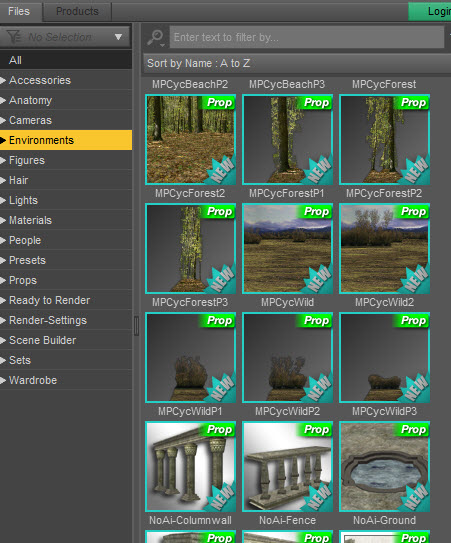
As for the environment, I used a simple forest environment from the Multiplan Cyclorama pack and a column wall (which I cannot remember which pack it came in).
The magician is a Genesis male. I set the body morph to heroic and dressed him in what seemed appropriate clothes from different packs. I think he is also wearing a Jared beard from memory.
Lighting and Setting
Prior to my lighting, it did look pretty average. Here is a render when I had only played a little with the lighting.
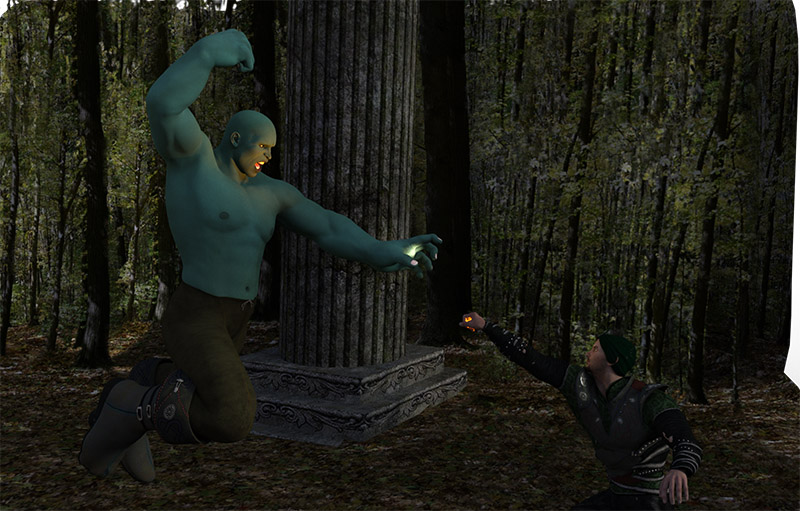
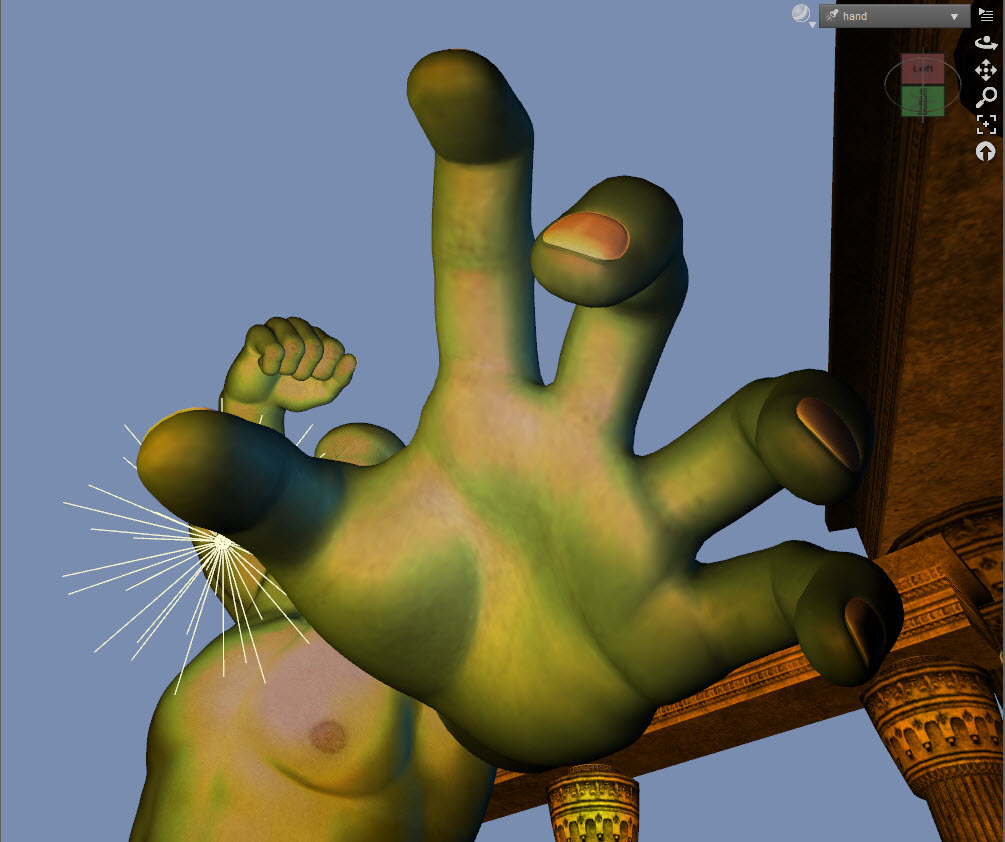
In this you can see the point light within the magician’s hand (the point of origin for his spell) and a spotlight (called “Magic”) hitting the green giant’s face.
In doing lighting I tend to do a render following every new light. At the creation of each light I also tend to use its camera‑like ability to view directly down the light stream. Hence here is the view looking from “magic”.
And “hand”.
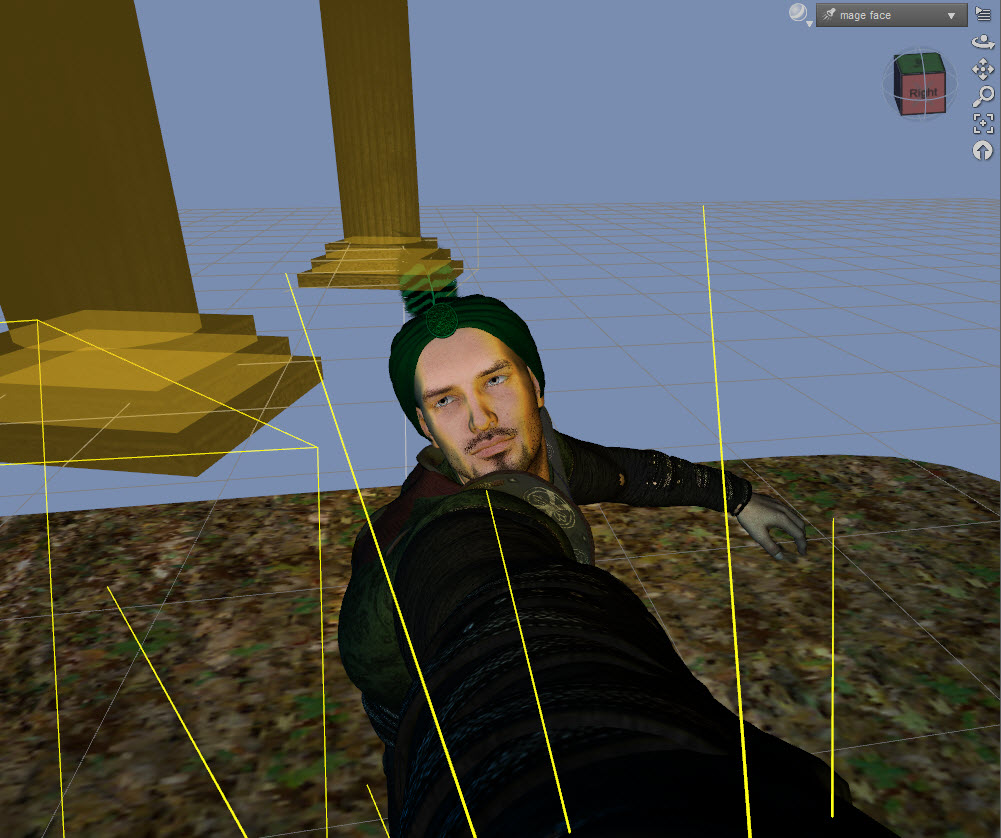
The light colour for “hand” was set to white rather than the golden colour for the two other lights. That was because I intended to add a lightning‑like effect in my post‑processing and figured that required a paler colour.
Here is my camera and light list to give you an idea of how many I set up.
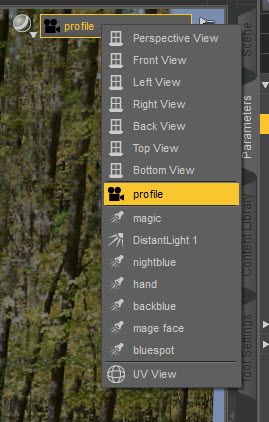
Note that I actually have two blue lights which I aimed at the background. They are very subtle, and some might question their effectiveness. But I tend to feel that such subtlety is picked up by our senses and adds something.
I also removed the default Environment Map on the dome (in the Environment menu on the renderer). I then replaced it with a black texture. This makes everything appropriately dim.
My final word on lighting is that, in my opinion, lighting is a key element to mood. Ask any photographer or filmmaker. I wanted most of my picture dark, so as to emphasise the faces of the two combatants and their conflict. Darkness also suggests danger to us, and it makes the environment suitably murky and threatening. What are the shapes in the background? our subconscious whispers.
Final Render in Photoshop
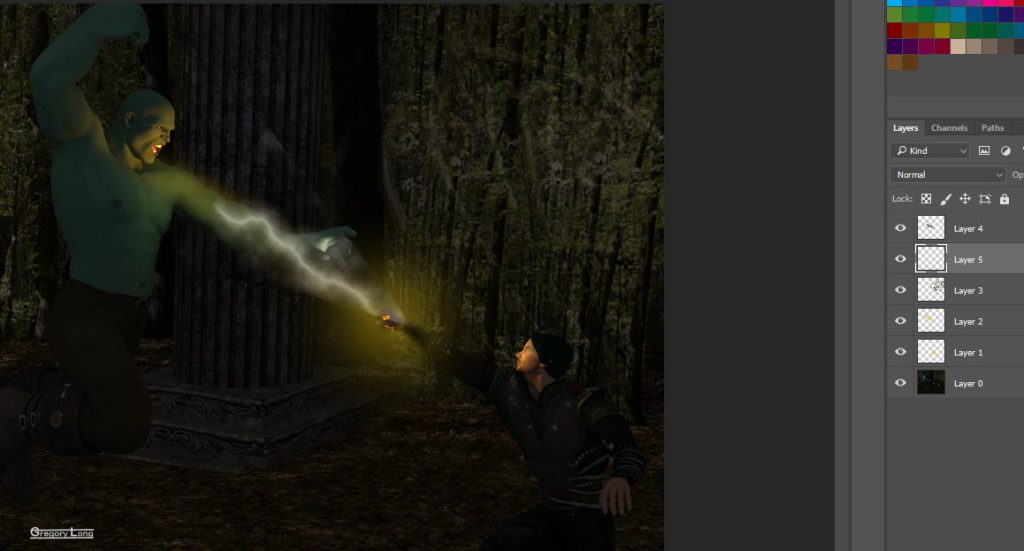
I rendered using Iray. So this is what it ended up looking like when I imported the render into Photoshop. Note my layers on the right. I will walk through each of these, turning them on as I go.
First I wanted to add a glow around the magician’s spell hand. So I simply added a layer, used a fat soft‑edged brush to paint the glow, changed the opacity to low, and voilà!
Next I used the same brush on a new layer to draw a line up the giant’s arm. I played again with opacity, but also used CTRL‑T to stretch and manipulate the layer a bit.
This next bit is soooooo subtle that you may not even see it!
In the background, I added an almost translucent image of a Tyrannosaurus Rex skeleton that I had taken in a museum a few years ago. Here’s my photo.
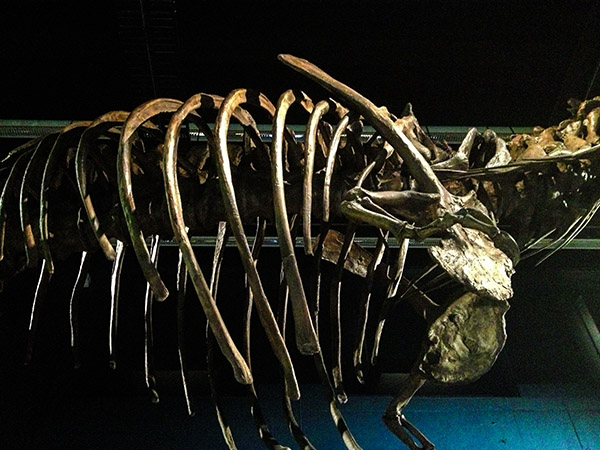
So why did I do this?
Last year I watched a video on YouTube by a digital artist who argued that adding such faint images to backgrounds provided complexity to the viewers subconsciously and, in doing so, make it feel more real. I don’t know whether it is true or not but I subscribe to it. (I wish that I could find the video to share it with you.)
The next step was the lightning effect to show the spell erupting from the magician’s fist. Once again on its own layer.
There are quite a few good Photoshop lightning tutorials around. I just used this one.
Final Words
This image is not brilliant, but I do feel that it is effective. Many new digital artists create brilliant models and then light them appallingly. The result is average when it should be spectacular. Here some simple models have been lit and posed in a way that tells a story and gives them life. Yes, perhaps I am being very egotistical in saying this, but I do urge new digital artists out there to consider this point when creating their work.