Glenn Ison is my brother-in-law and also a senior medical imaging professional at St George Hospital, Kogarah. Back in the 2010s, Glenn conducted groundbreaking research into improving safety for medical staff in radiation laboratories. As a result, he was invited to write an abstract on his research and to travel to Paris to present at a conference on interventional cardiovascular medicine (EuroPCR). Glenn asked me to create some diagrams for the abstract and presentation. My task was to create a 3D model of an X-ray machine and pose it with a patient and medical staff to demonstrate the behaviour of the radiation. This post is a top-level approach to how I did that.
My approach was fairly straightforward, in all honesty. The first thing was to choose my tool. That was easy – Blender. I was not much of a Blender user at that point, but I did want to learn it and saw this as a chance to advance my skills.
After that, I created a project folder and, within that, a folder of reference materials (pictures, technical manuals, etc). These I got mostly from the internet, but I also visited an X-Ray lab and took several photographs of equipment. I needed to understand the subject.
I have found that in complex models it is important to establish a self-documenting nomenclature for the naming of elements in the design (i.e., give every element an obvious name that tells the user the purpose). I did so.
The next thing was to create a simple design document for each module. This was a diagram that showed the size, appearance, and placement of various elements. If you look below, you can see how insanely simplistic it was!
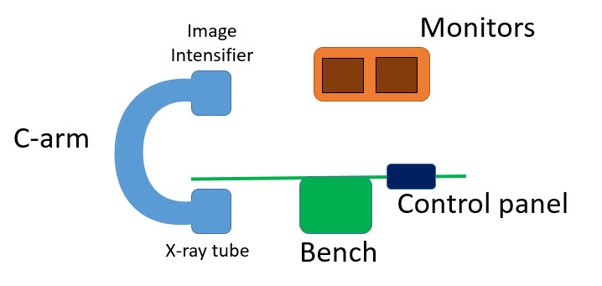
With the basic concept in my head, it was time to jump into Blender and begin. The bench was really easy. And, as you can see from the design above, it is essentially several stretched cubes that I beveled, plus a 2‑dimensional shape that I extruded.
The c‑arm was next. Four cubes and a curve. I shaped each cube (again the bevel played a prominent role) and then created a curve around another extruded 2‑dimensional shape. Later I realised there was a better way to do this.
I guess it was while making the mount‑interface that my brain started realising the opportunities that other shapes presented. In particular, the torus struck me as something I might use. I created two and then deleted one side of each. This gave a nice cradle for the C-arm to rest within. Then I just used a cylinder and two cubes to finalise the back where it would meet the mount.
Making the ceiling mount, I bent a stretched cube. To be honest, this did confuse me until I realised that I needed to add a point around which it would bend (the plane axes).
By the time I got to the monitor, I had all the skills needed (as well as the right way of looking at objects) to throw it together very quickly using only two types of shapes.
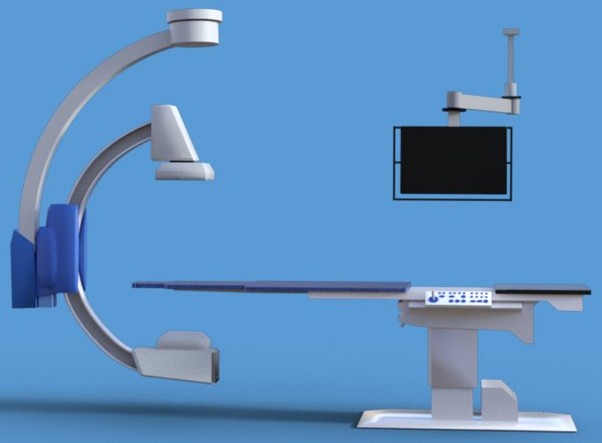
As you can see, it rendered quite nicely. However, the brief was to have people models involved. At this point I jumped from Blender to DAZ Studio, as I was more familiar with that product. I used two Gemini models with appropriate medical gear. I then rendered these and did a bit of post-production work in Adobe Photoshop.
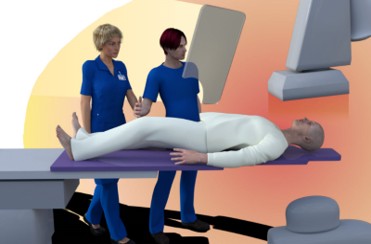
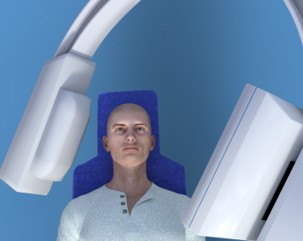
I must admit that I was surprised by how successful these diagrams were. So much so that I was later asked to produce some for an article in Heart, Lung and Circulation Volume 28, Issue 10, October 2019, Pages 1501-1509 called “Radiation Management in Coronary Angiography: Percutaneous Coronary Intervention for Chronic Total Occlusion at the Frontier”.
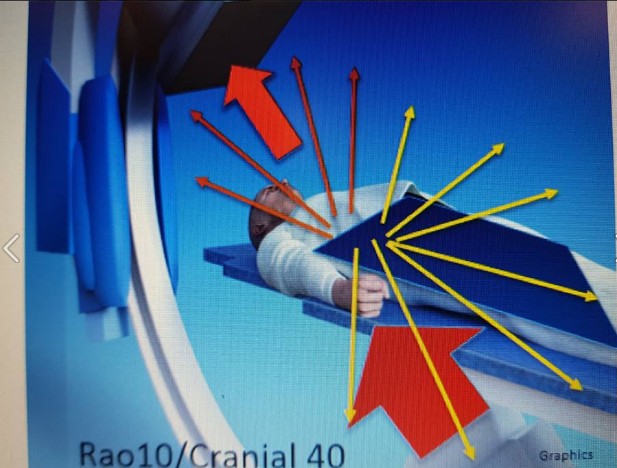
And that is that!